Advanced Features
Inventory Showcase
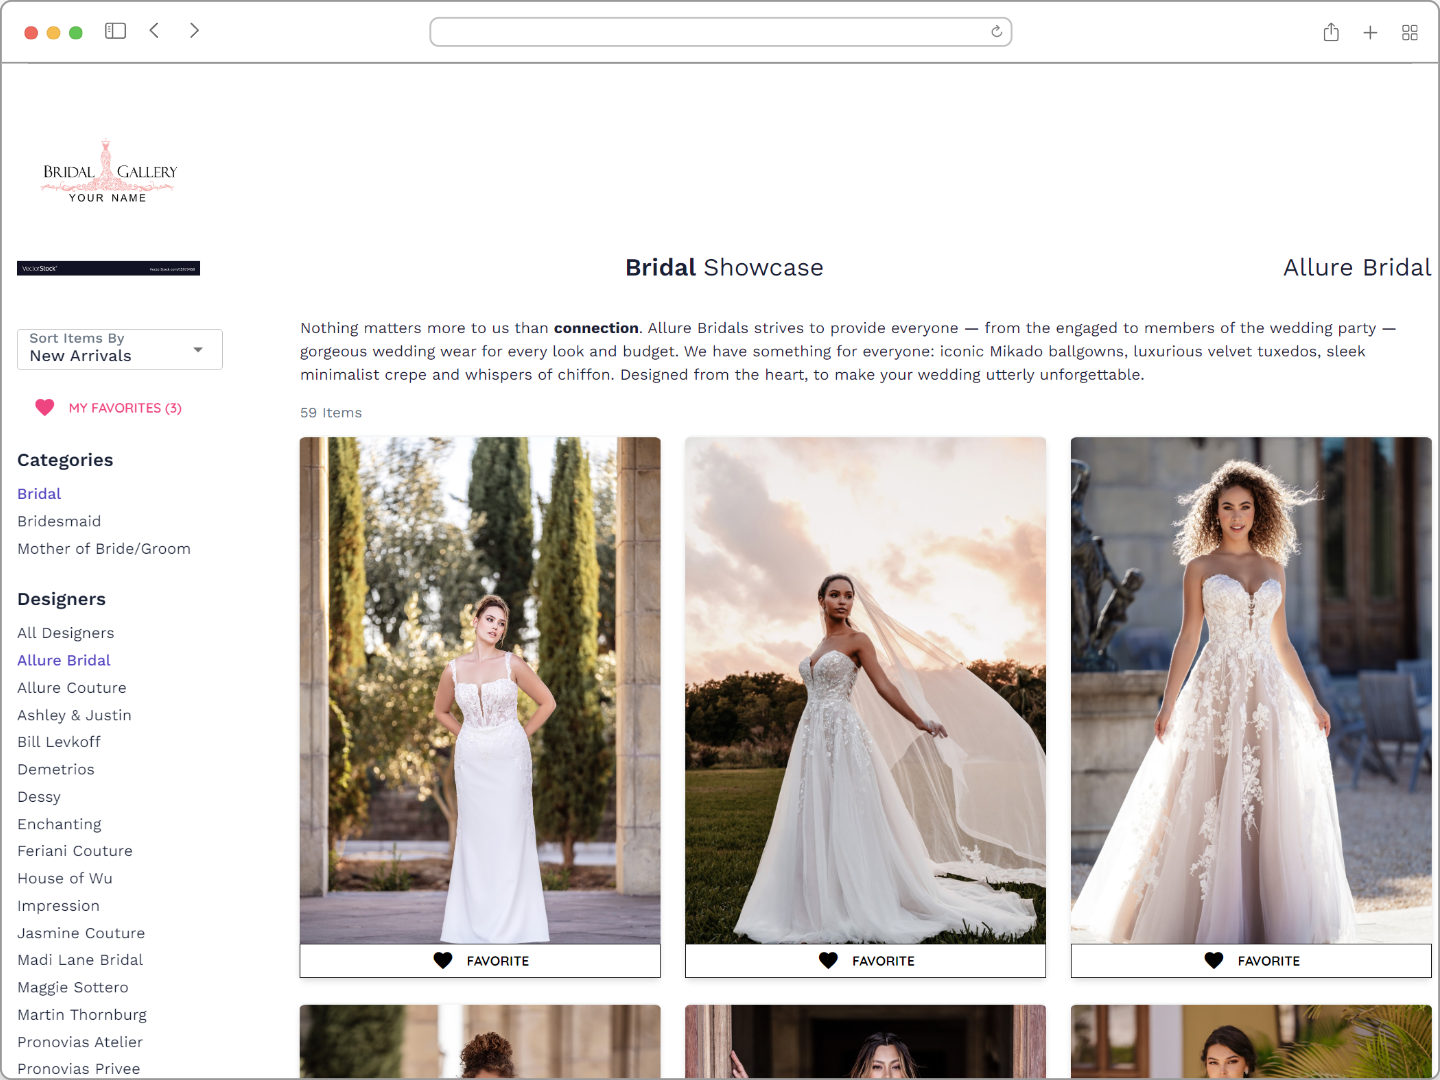
Ultimate PlanThe Inventory Showcase is your boutique's digital window display—an interactive gallery that lets clients browse your collection from anywhere. Whether they're dreaming about their perfect dress or preparing for an appointment, the showcase makes it easy for them to explore what you offer, favorite their top picks, and get inspired before stepping into your store.

How Clients Use the Showcase
Clients visiting your Inventory Showcase are greeted with a beautiful, easy-to-navigate gallery. They can filter by category, designer, silhouette, item type, or custom tags—helping them quickly find styles that match their vision. Clicking on an item reveals a larger image gallery and detailed description, so clients can get a true sense of each piece.
As they browse, clients can mark their favorites. These favorites are saved to their profile and are visible to your staff, making appointment prep a breeze. If a client is ready to take the next step, they can request an appointment right from the showcase—no prices are shown, so the focus stays on inspiration and in-store experience.
Tip: Encourage clients to favorite items before their appointment. This helps your team personalize their visit and ensures a smoother, more enjoyable experience.
Enabling and Customizing the Showcase
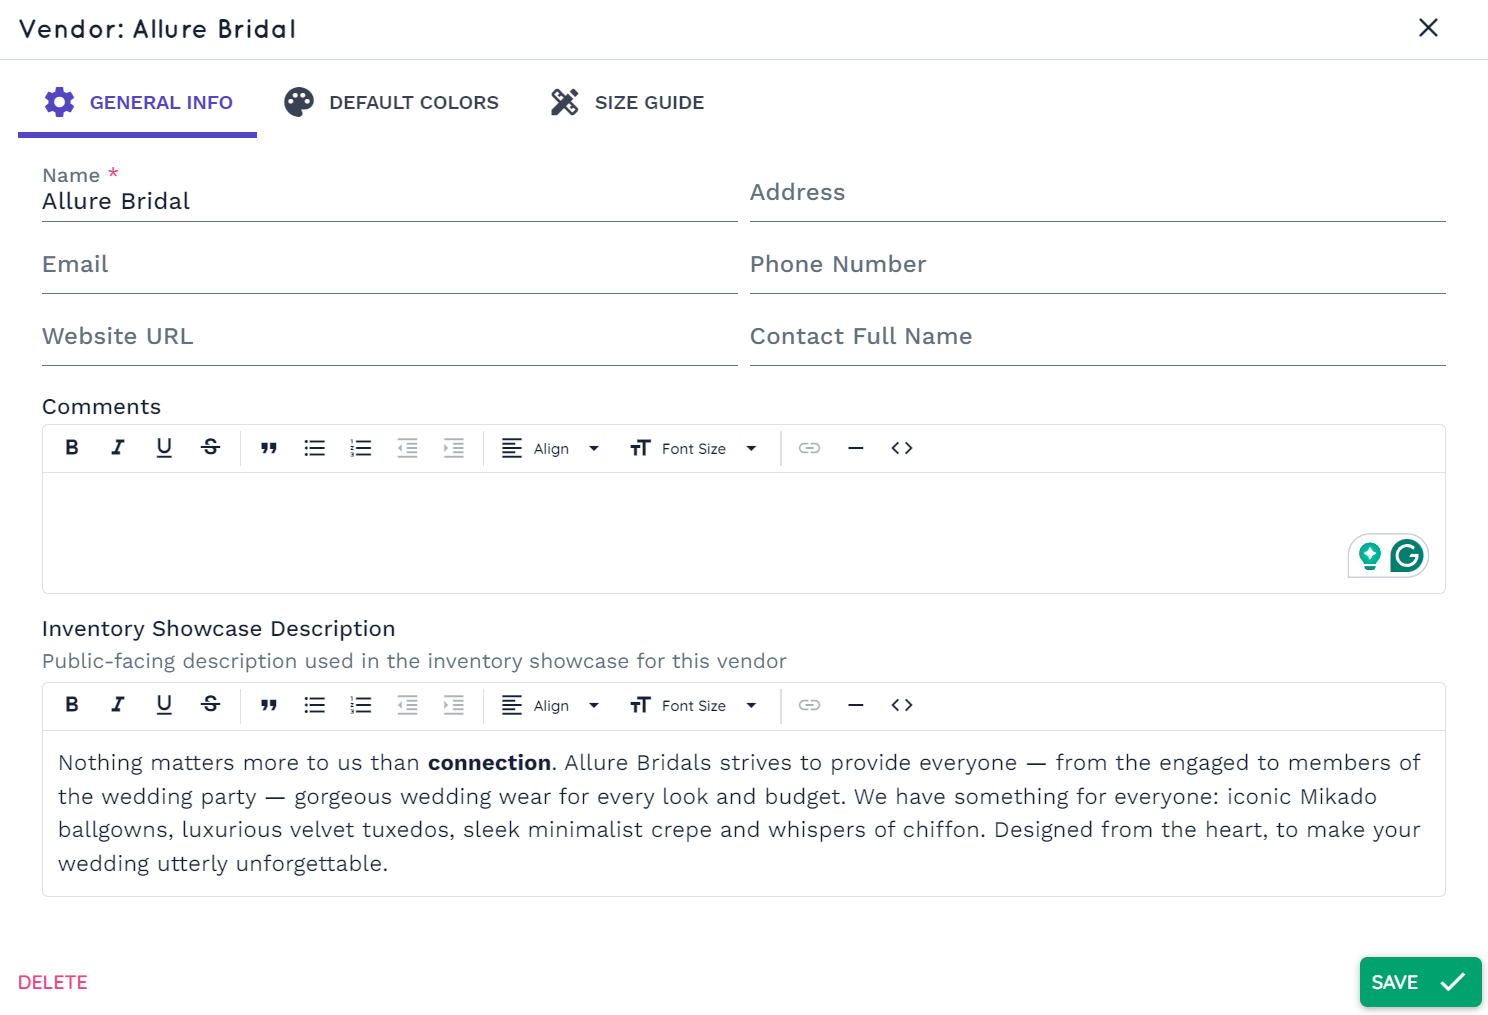
Getting started is simple. Head to Settings > Inventory Showcase and enable the feature. You can tailor the showcase to fit your boutique's brand and workflow:
- Choose which categories, vendors, item types, and tags are visible
- Decide whether to show item names, designers, and attributes
- Enable or disable multiple images per item
- Allow clients to sort by best sellers or new arrivals
- Control which filters are available for clients
All of these options are available in your Inventory Showcase settings, so you can create a browsing experience that matches your boutique's style.
Browsing, Filtering, and Sharing
The showcase offers powerful filtering and sorting tools. Clients can mix and match filters—like category, designer, silhouette, or tags—to narrow down the collection. Any filters they apply are clearly displayed, and can be removed with a click. The URL updates automatically as filters are applied, making it easy to share a specific view with a client or feature a collection on your website or social media.
Tip: To share a filtered view, simply copy the URL after applying filters and send it to your client. They'll see exactly what you see.
Favorites and Appointment Requests
Favoriting is at the heart of the Inventory Showcase. Clients can click the heart icon on any item to add it to their favorites. These selections are saved to their profile and appear in the appointment form, so your staff knows exactly what the client loves. When ready, clients can request an appointment directly from the showcase, making it easy to turn inspiration into action.
Viewing Favorites in the Customer Profile
All items a client favorites in the Inventory Showcase are automatically visible in their customer profile, thanks to the Favorite Items section. Here, your staff can see which items were selected by the client online ("Showcase Favorites") and which were added in-store ("In-Store Favorites"). This distinction helps your team prepare for appointments and personalize the experience—ensuring the right dresses are ready and the client's preferences are front and center.
You can also add or remove favorites directly from the profile, and even generate quotes for selected items. This seamless integration between the showcase and the customer profile makes it easy to keep everyone on the same page, from first browse to final fitting.
Tip: If you are having issues with favorite items not appearing in the customer profile, we recommend inviting the client to access the showcase through the client portal. This ensures accurate synchronization between the showcase and the customer profile.
Managing Your Inventory
You have full control over what appears in the showcase. In your inventory system, you can:
- Add multiple images to each item (front, back, details, etc.)
- Write a detailed Showcase Description for each product
- Tag items for better organization and filtering
- Hide specific items by checking the Exclude from Showcase box

You can exclude any item from the showcase in the item details page.

Note: By default, all active items are visible unless you exclude them or limit by category/vendor in settings. Only items with at least one image will appear.
Multilingual Support
The Inventory Showcase supports multiple languages, including English, Spanish, German, Czech, and Norwegian. The language your clients see is based on your Customer-Facing Language setting in General Settings.
Sharing the Showcase
Once your showcase is set up, you can share it in a variety of ways:
- Include it in the client portal - recommended ✅
- Add a link or button to your website
- Share directly via email, text, or social media
- Feature specific filtered views for promotions or events
Tip: We recommend including the showcase in the client portal as the primary means of accessing the showcase. This is done automatically in confirmation emails, but we also highly recommend using the Client Portal Link smart field in your appointment confirmation emails to better control the messaging around client portal access.
Client Portal Integration
If you use the Client Portal, the Inventory Showcase is automatically available to clients there. This seamless integration means clients can browse, favorite, and prepare for their appointment all in one place. You can turn this integration on or off in the Client Portal Settings.
Best Practices
- Use high-quality, multiple images to showcase each item's details
- Write clear, inviting descriptions to help clients fall in love with your collection
- Organize with meaningful tags and keep your inventory up to date
- Test the showcase on different devices to ensure a great experience everywhere
FAQs
Why aren't some of my items showing up?
Check that the vendor is enabled, the item isn't excluded or discontinued, and that it has at least one image uploaded.
Can clients keep browsing after booking?
Yes! Clients can continue to view the showcase and add favorites even after booking an appointment. Their selections will be visible to you when they visit.
